Get Started With Xenioo
Our tutorials are thought for those approaching Xenioo for the first time or anyone willing to learn the nuts and bolts of Xenioo. Each tutorial, through explanatory videos, describes the basic concepts from the creation of a simple chatbot, through the use of NLP, up to advanced solutions such as scripting and API integration.
HOW TO build a complete food delivery chatbot (Part 1)
In our previous How To Build post series, we’ve detailed how to build a complete Q&A chatbot using Xenioo AI engine, database, and flow capabilities. In this first of two-part posts where I’m going to detail instead all the steps
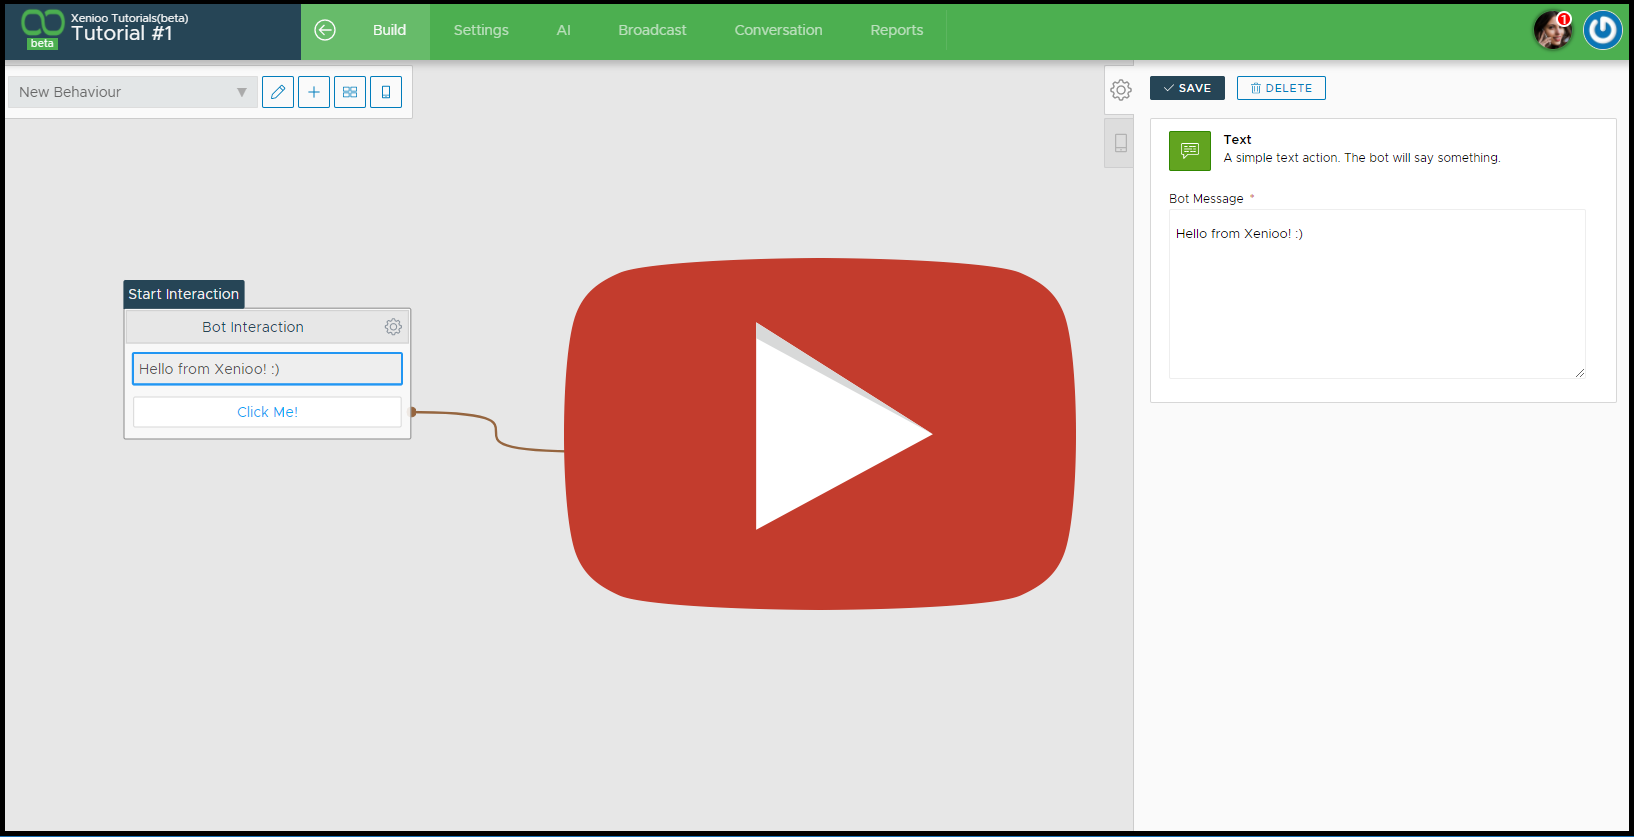
TUTORIAL #1: Creating your very first chatbot
Welcome to our first Xenioo tutorial. The purpose of this small lesson is to help you better understand Xenioo’s inner workings, and guide you to create your awesome chatbot. Today we are going to take our very first steps, and
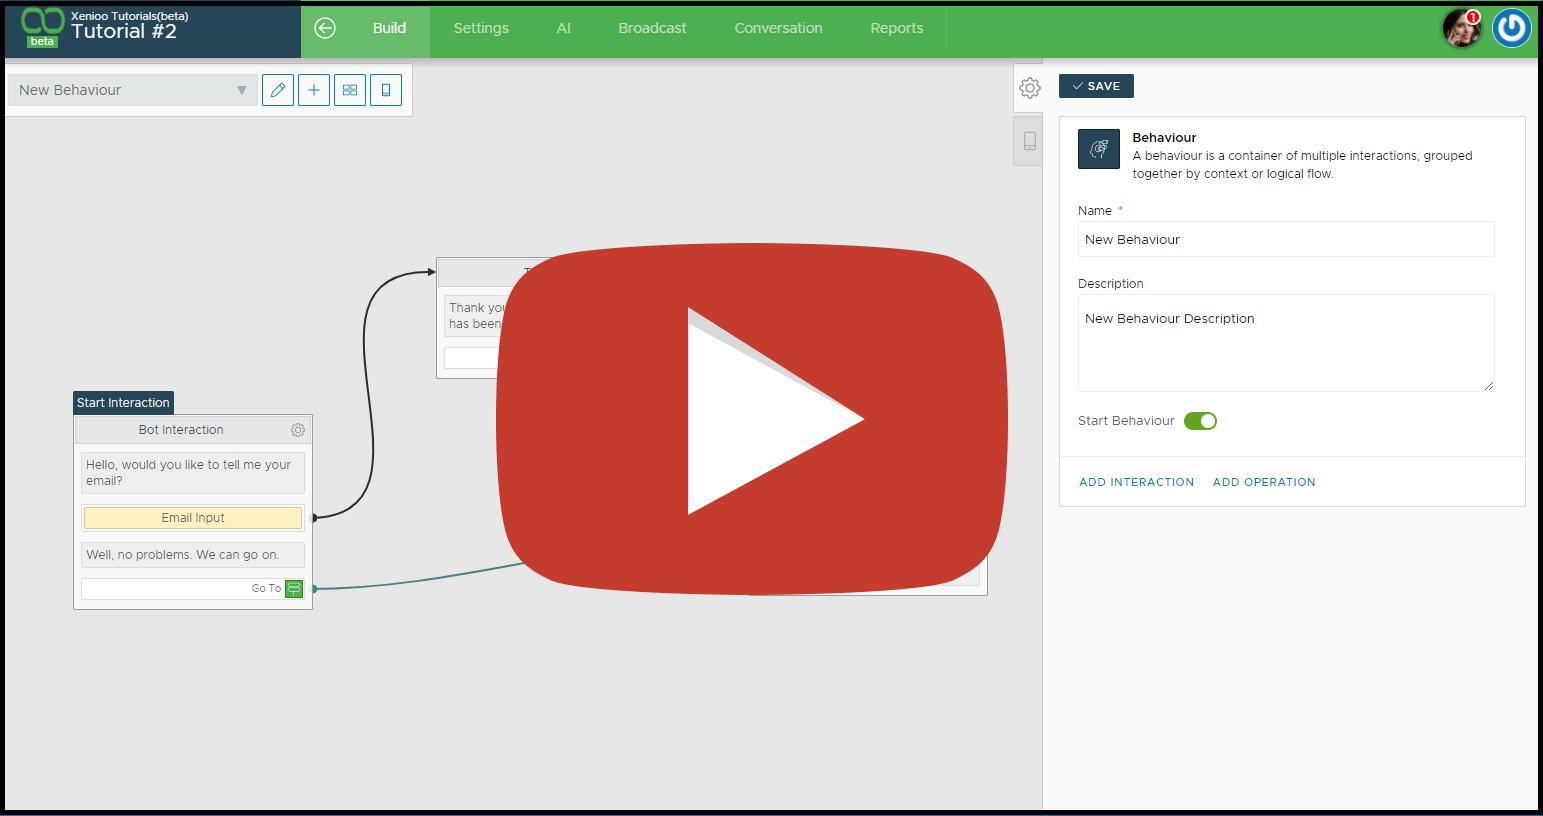
TUTORIAL #2: Asking a question and reacting to the reply
In the previous lesson, we configured a very basic bot with a simple quick button interaction. In this lesson we are going to complicate things a little bit: we want to ask the user a question and then make the
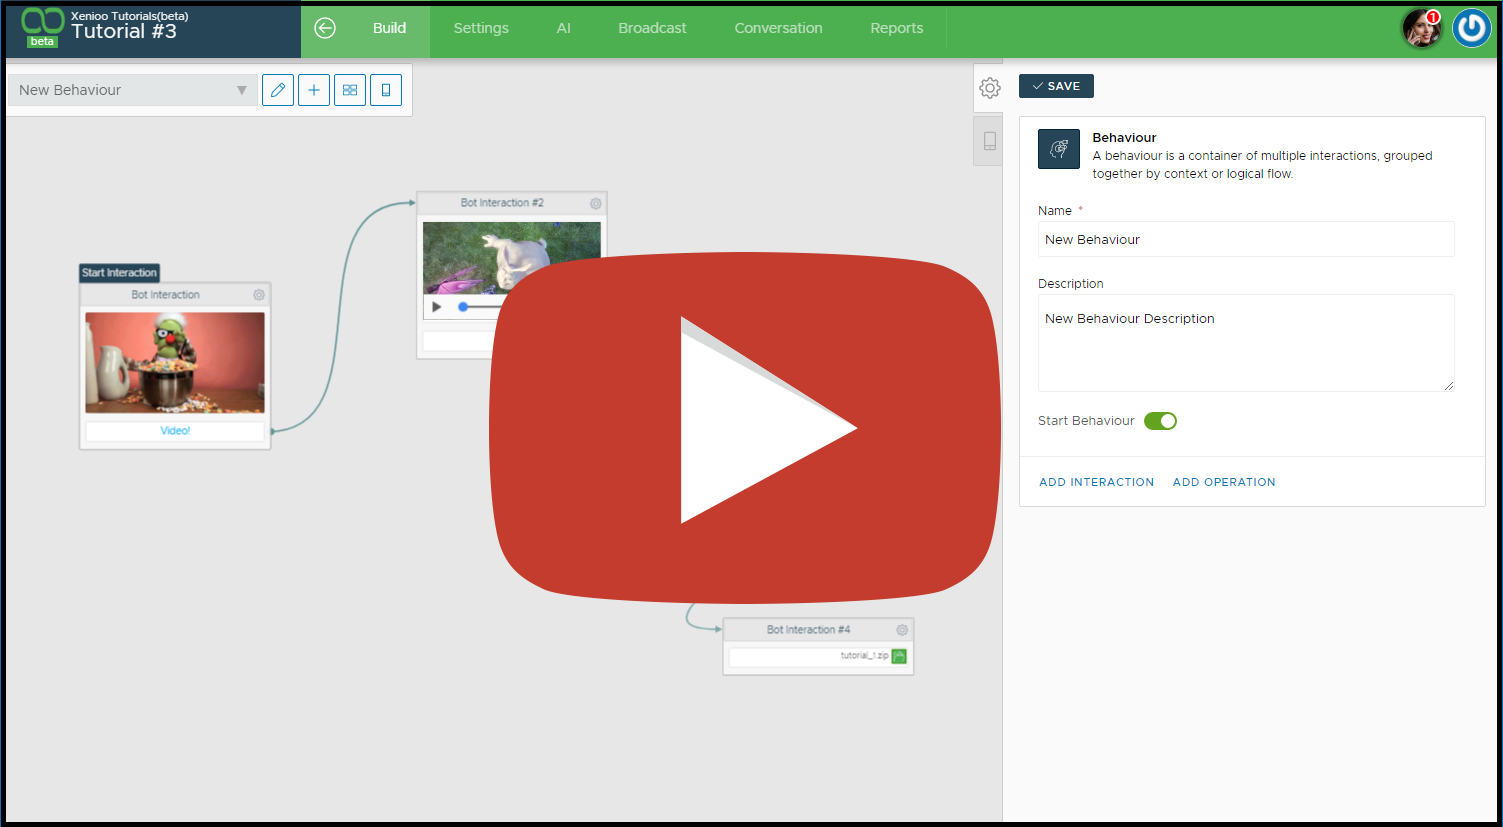
TUTORIAL #3: Displaying multimedia content in the chat
This time, after having managed to ask our user’s email address, we will display media content in our chat. Xenioo Actions currently support every kind of media attachment possible, and in this lesson we’re going to try them out. You
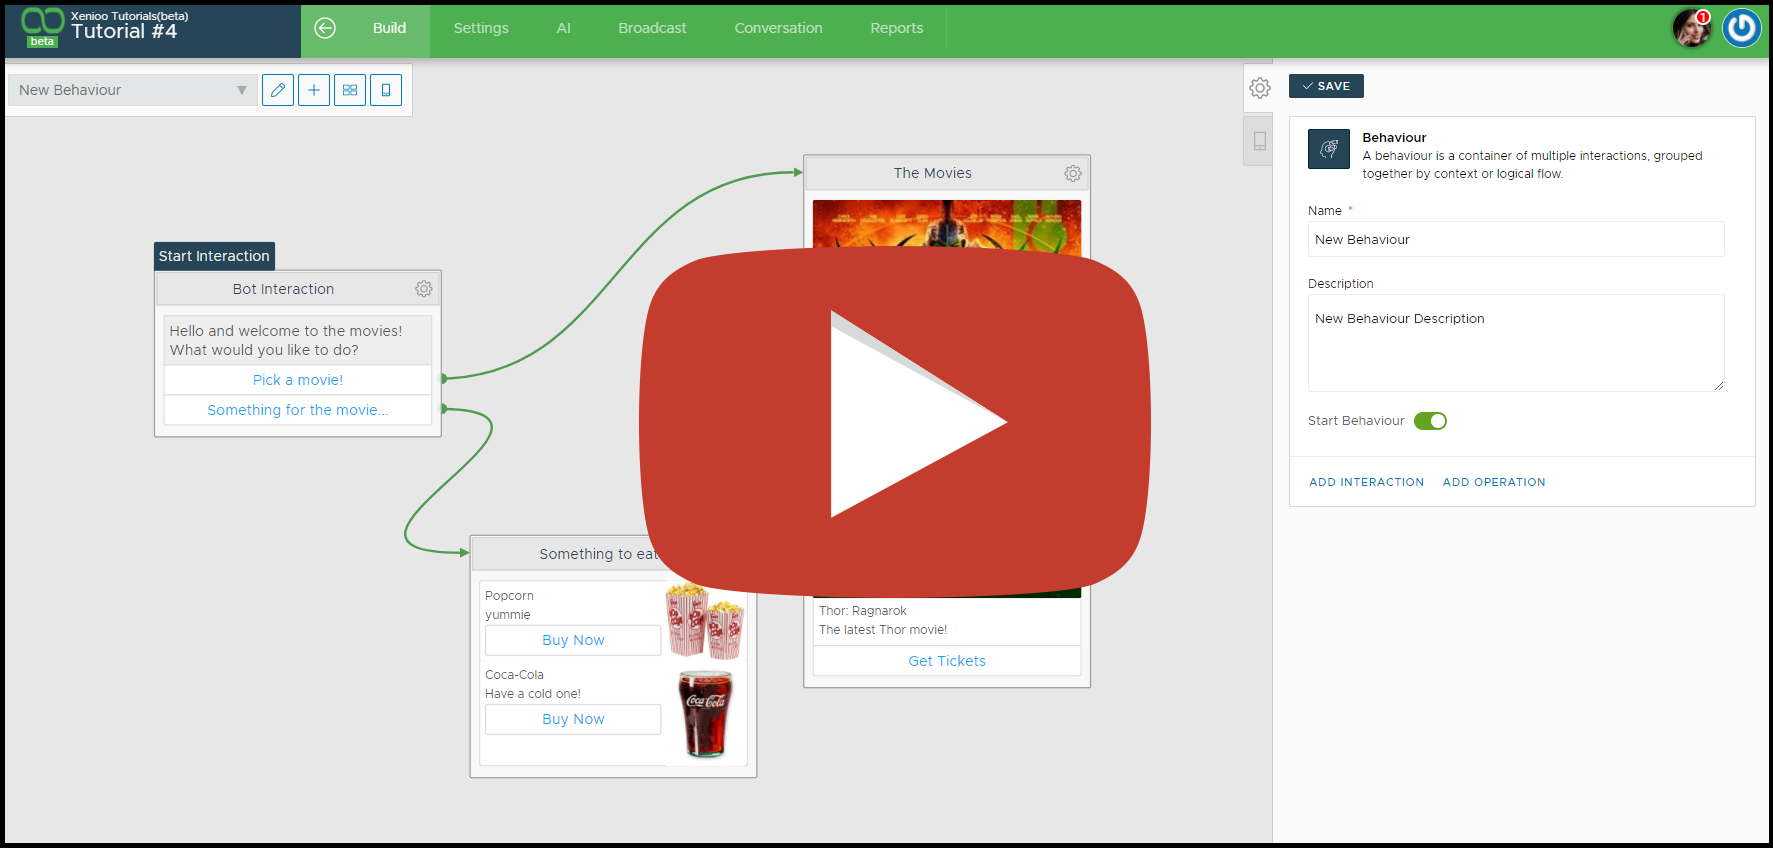
TUTORIAL #4: Using button groups, cards and carousel
In this fourth Xenioo tutorial we are going to explore some advanced content actions. While in the previous tutorial lesson we displayed multimedia content rather plainly, in this lesson we’re going to use our media resources in a more dynamic
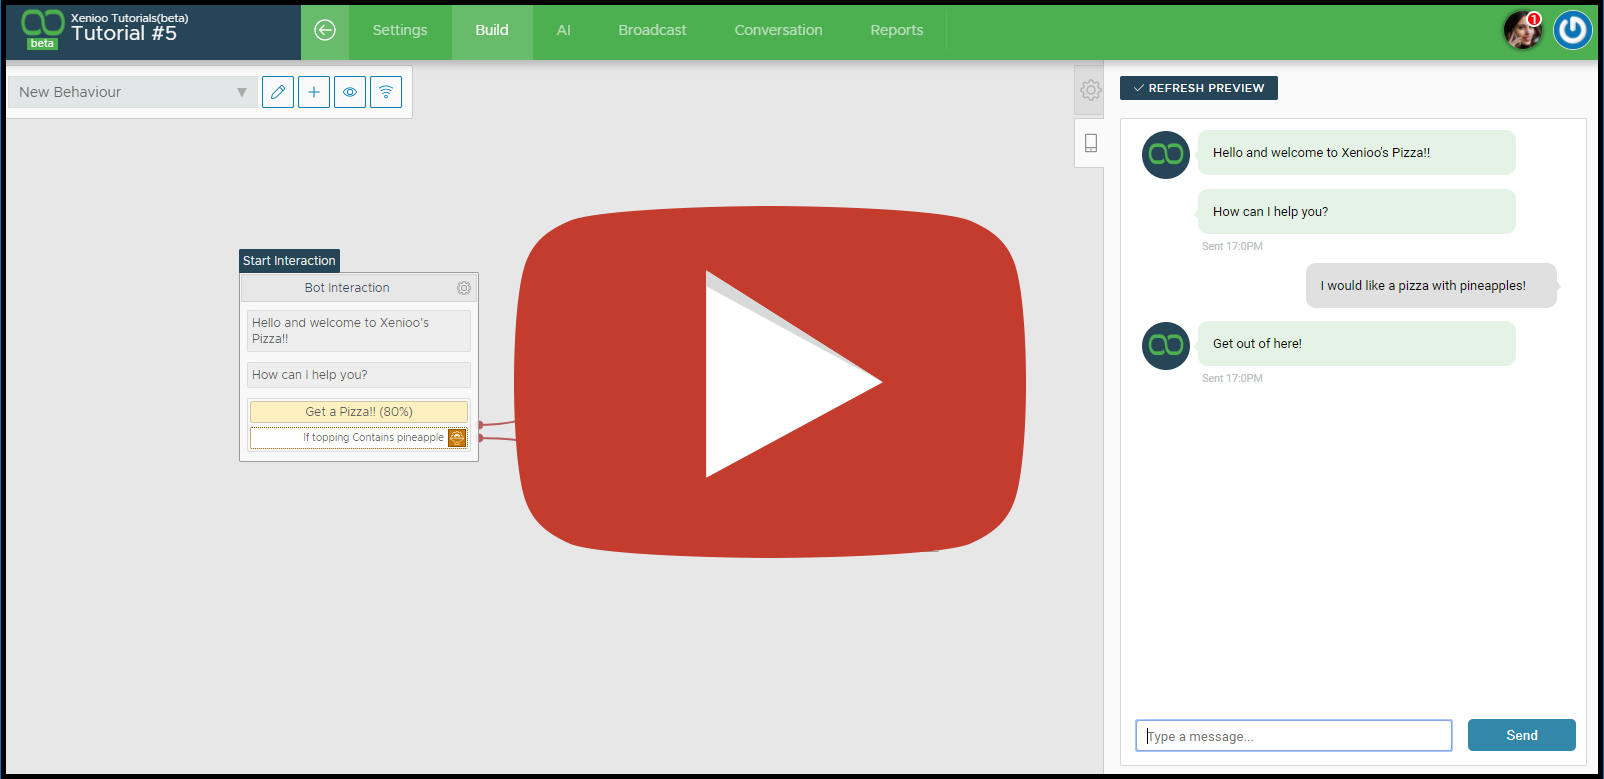
TUTORIAL #5: Detecting user input using NLP
Now that we’ve explored just about all of the possible contents that our chatbot can display, is time to move a little behind the scenes and discover the sheer number of customization and automation features that Xenioo offers. In this
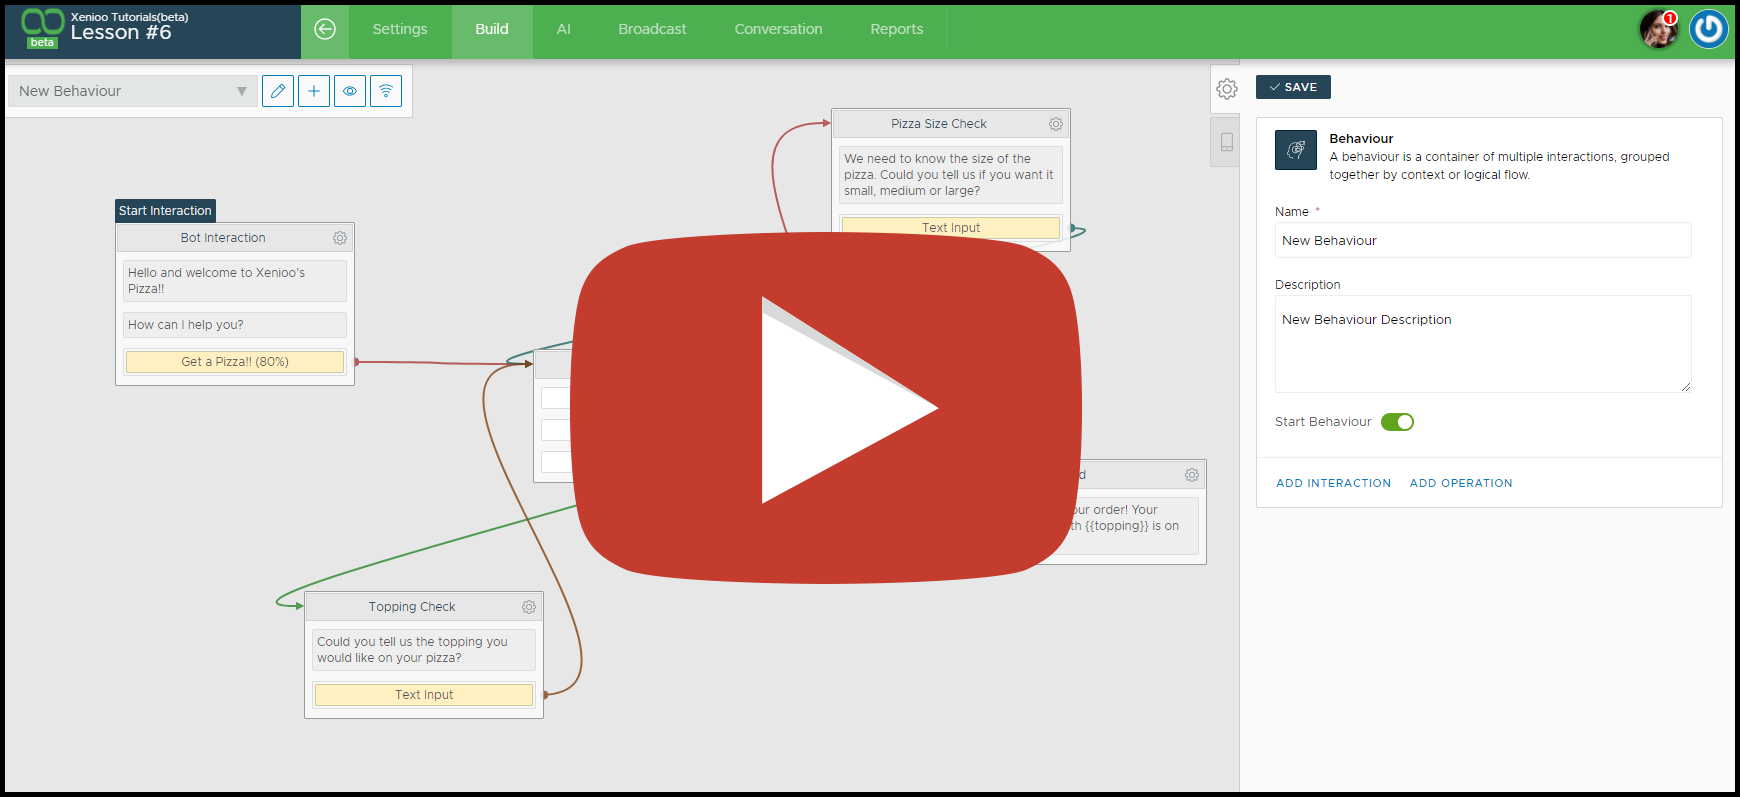
TUTORIAL #6: Changing conversation flow using variables and tags
In our previous tutorial, we learned how to create a bot that uses Xenioo’s Natural Language Processing engine to detect and react to user input. In this lesson we will expand the example further by creating different switches that alter
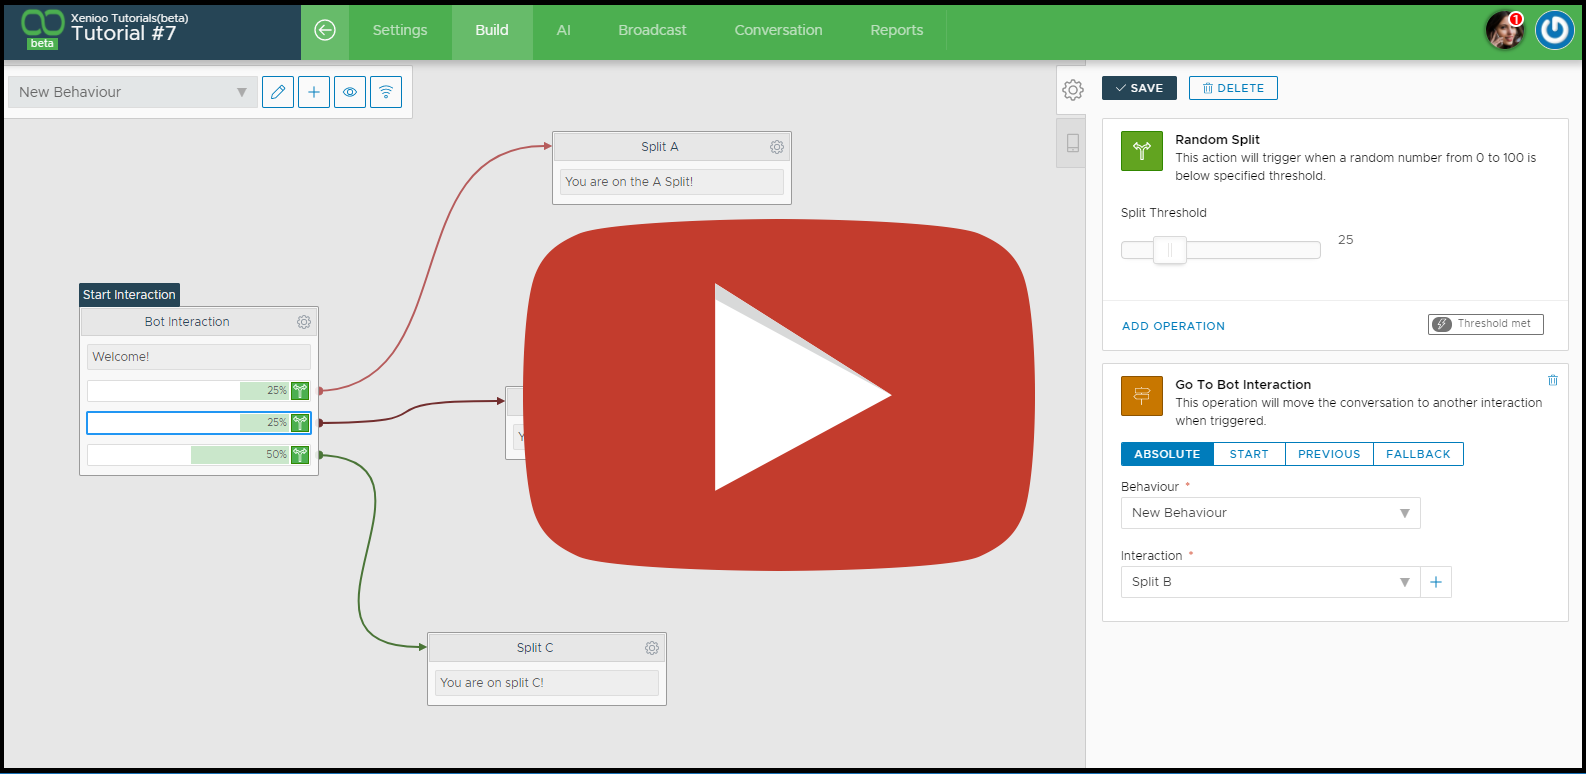
TUTORIAL #7: Creating a split-test driven conversation
Now that we’ve learned how to manage our chatbot flow through Variables and Xenioo’s Natural Language Processing engine, in this lesson we will move forward to learn a different way to manipulate our chatbot conversation: random split-testing. You can follow
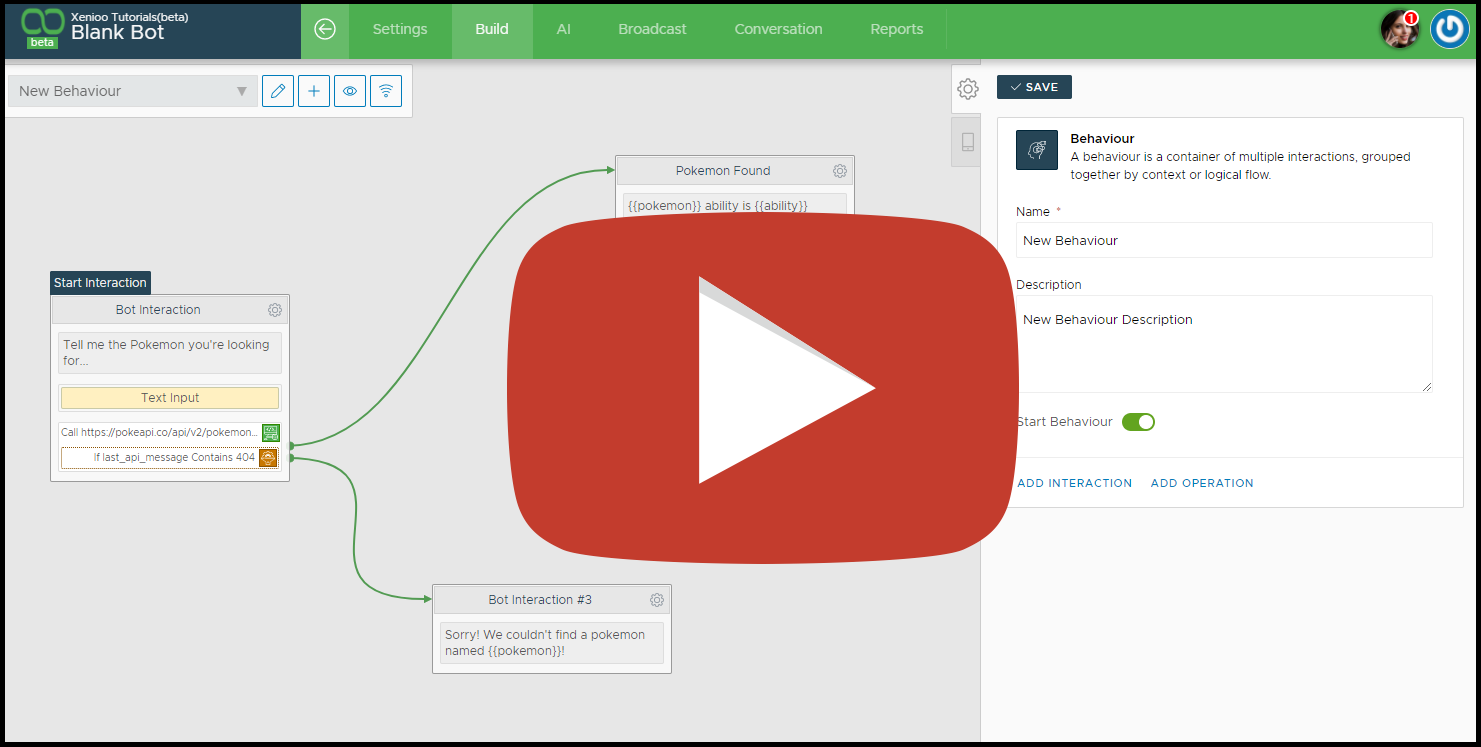
TUTORIAL #8: Integrating external API services
Now that we’ve learned all the basic aspects of the Xenioo chat flow design, we’re ready to further extend our chatbot by reaching out to external services. In this lesson we will learn how to call an external API service,
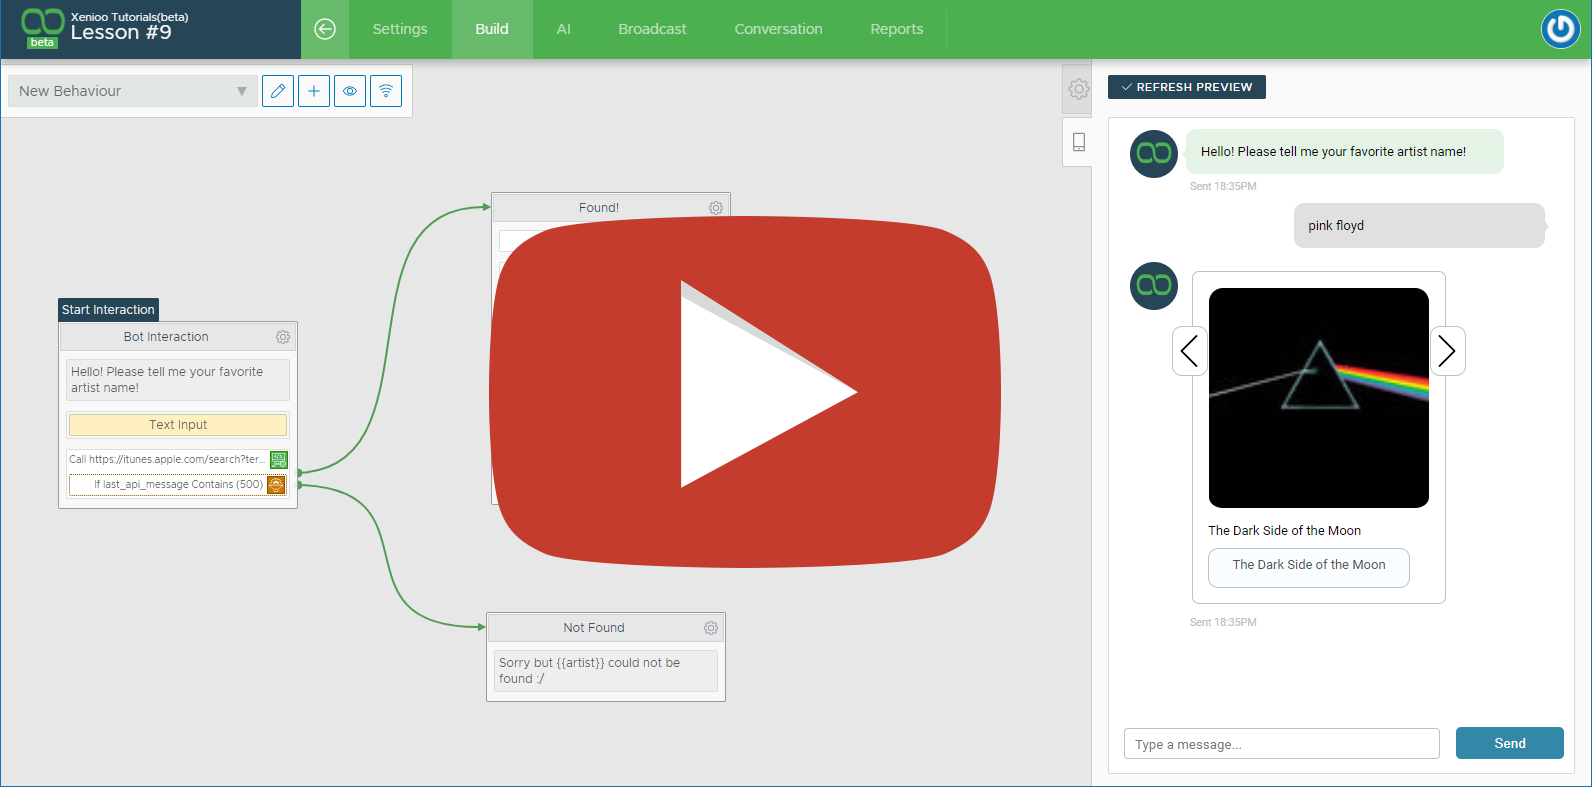
TUTORIAL #9: Using Cloud Scripting to drive chatbot results
Now that we have learned how to call external API services and use the results in our chatbot, we can step a little further and alter the API results to create completely new content. In order to do so, in
Why starting with Xenioo ?
Registration is FREE and you can instantanely publish your chatbots on
Facebook Messenger, Whatsapp, Telegram, Web Sites, Slack, Amazon Alexa and Google Assistant